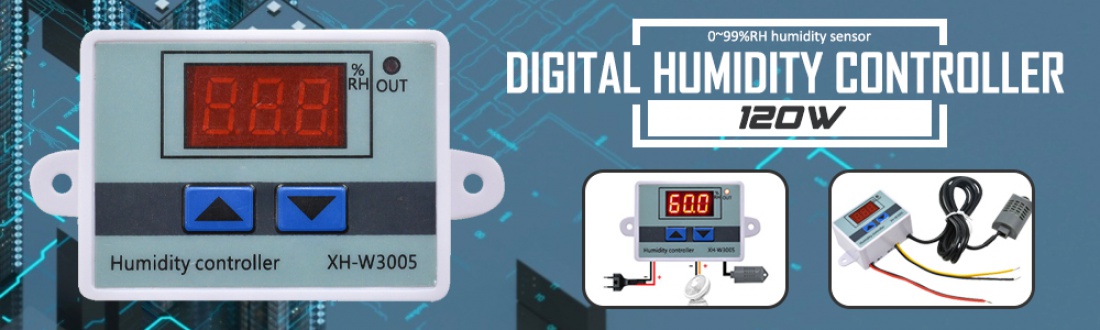
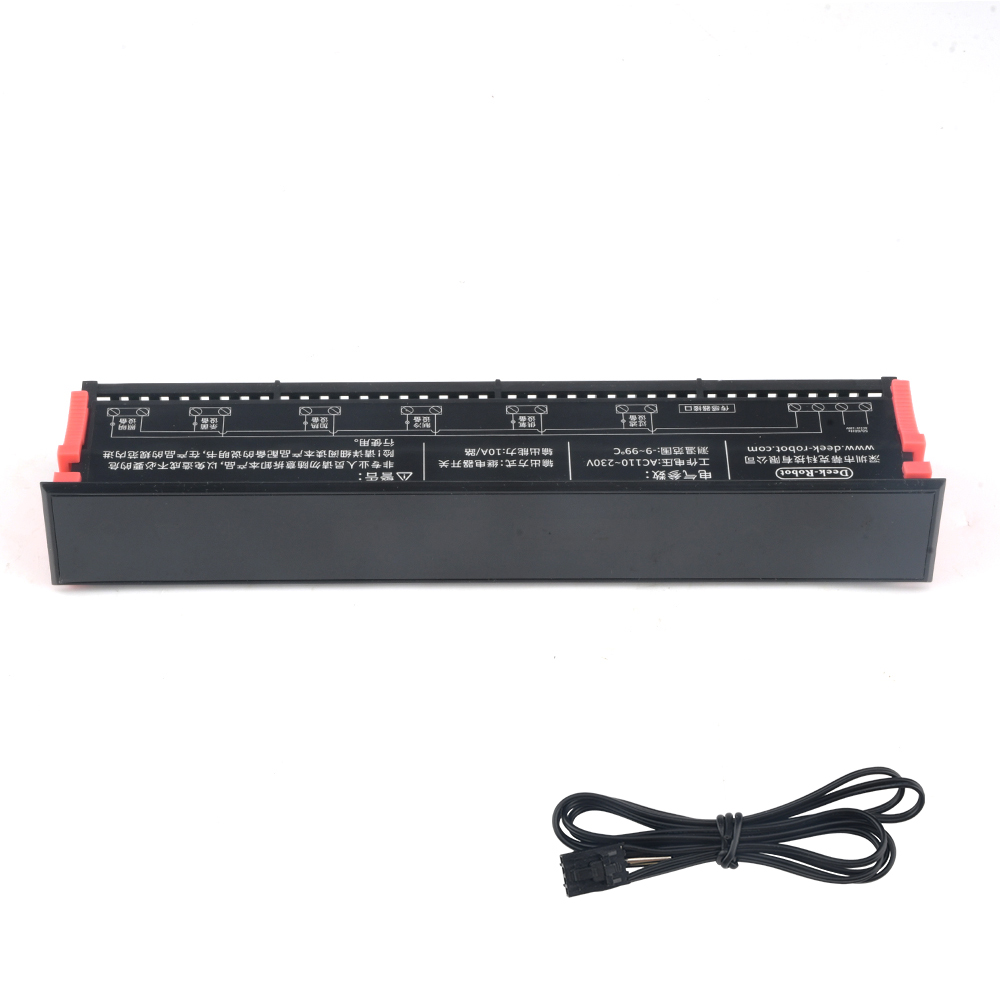
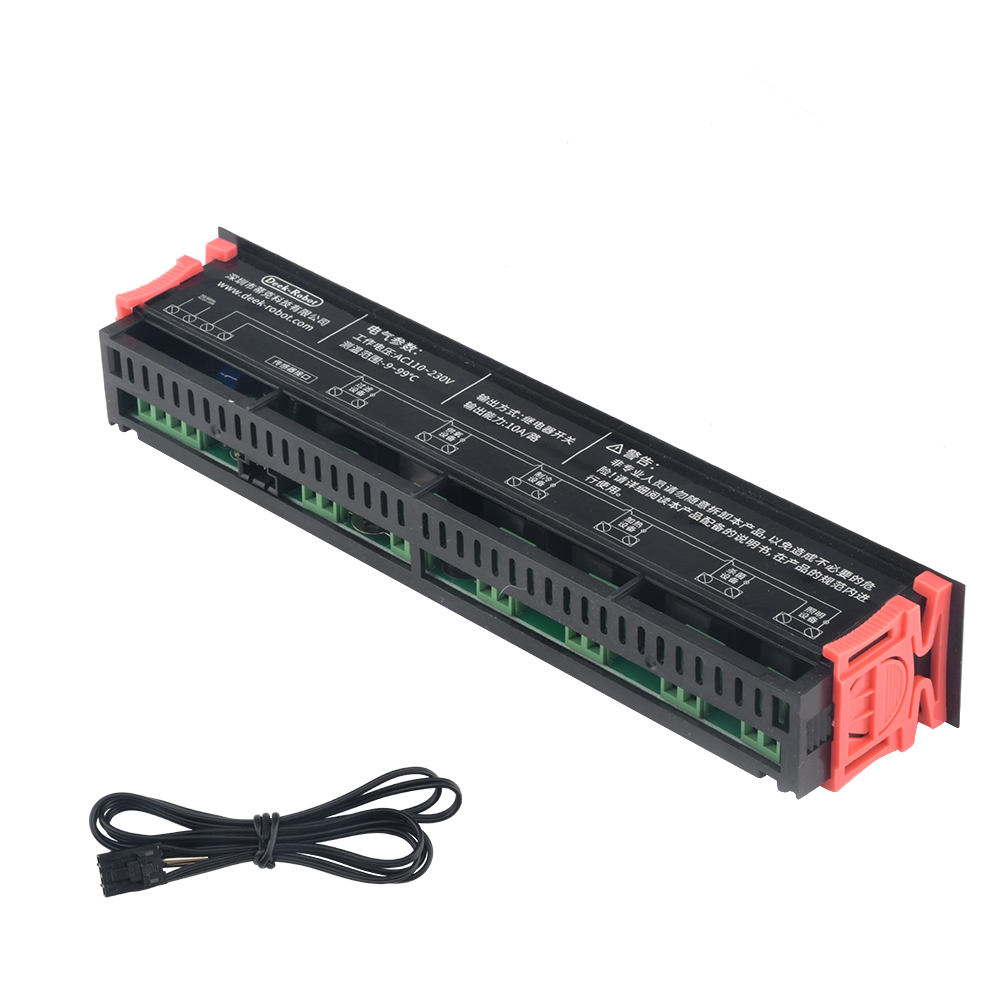
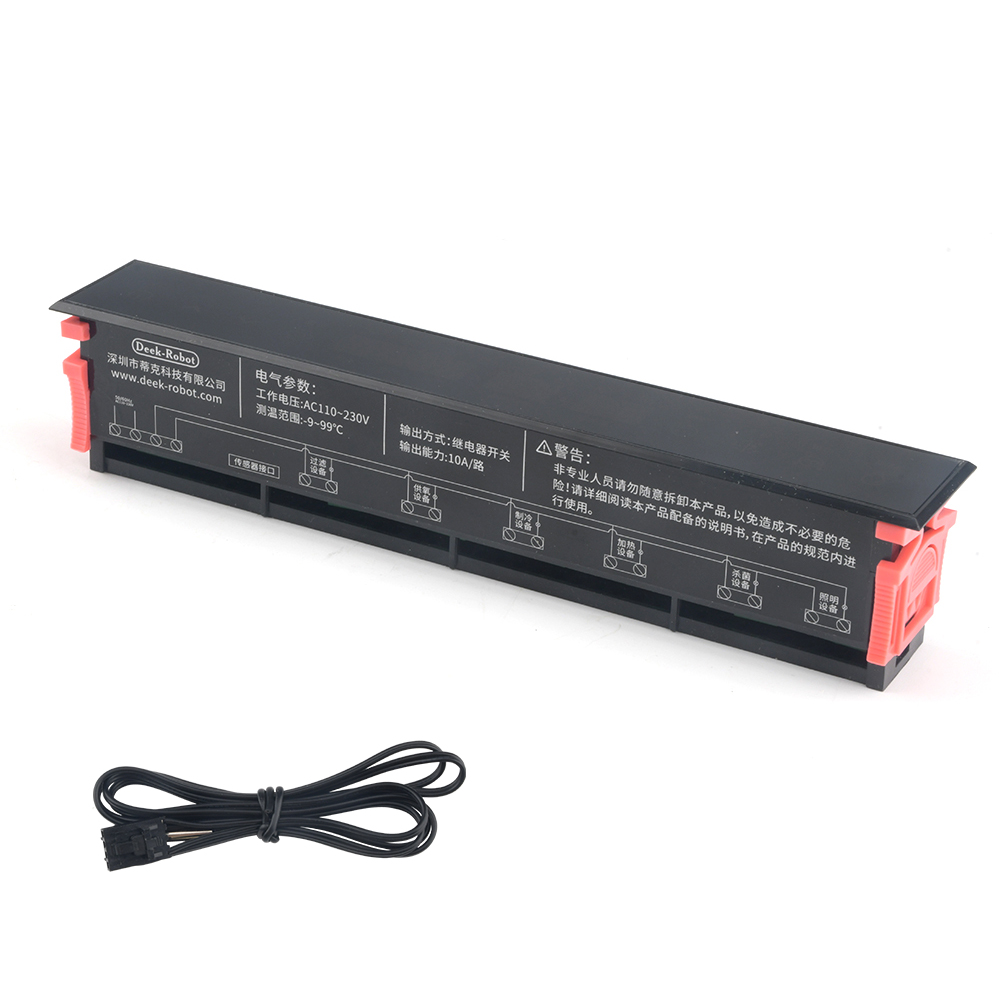
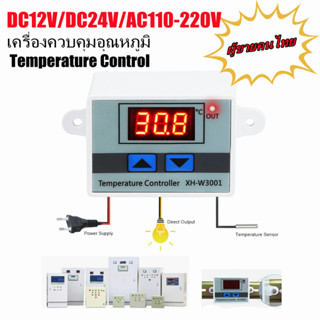
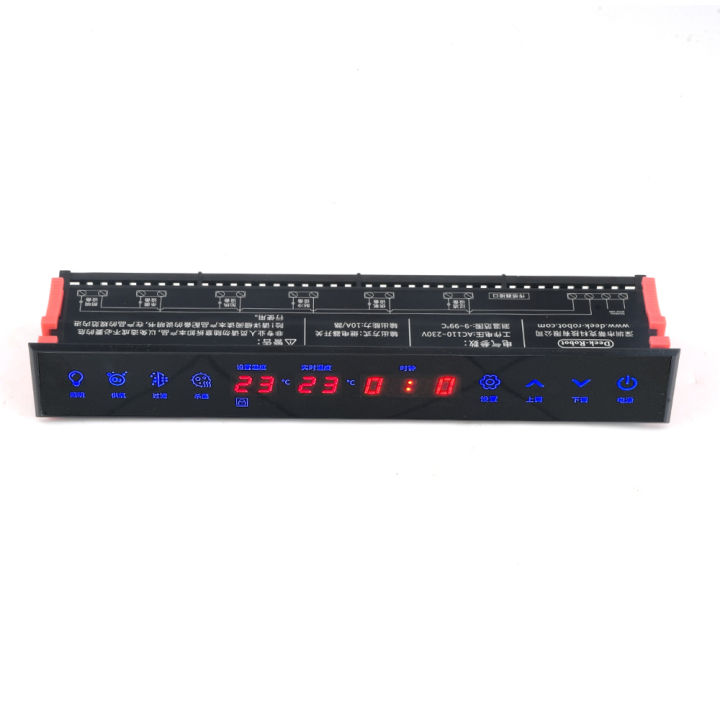
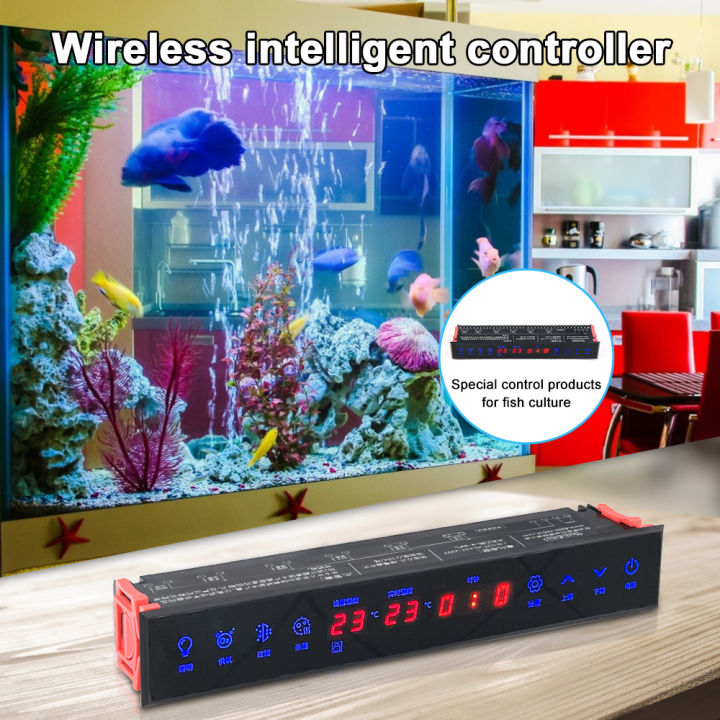
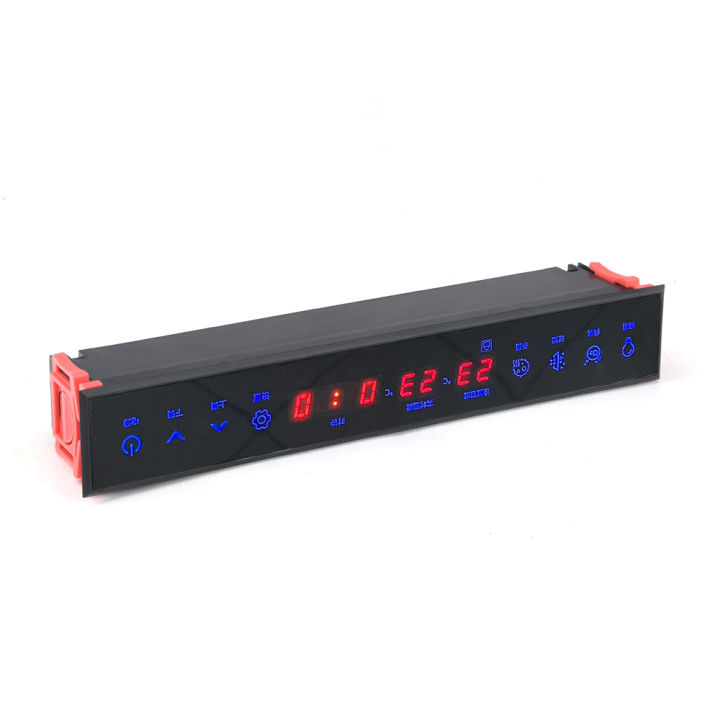
AC110-230V Aquarium Temperature Controller 6- Channel Relay Output Instrument Tools
Wide voltage adaptation range 110-230V wide voltage available
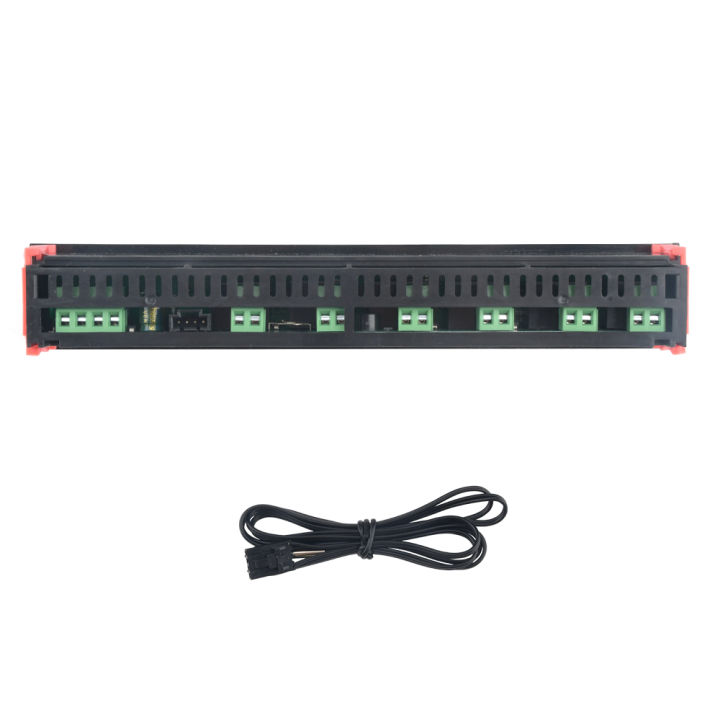
Wide output range 6 relay outputs
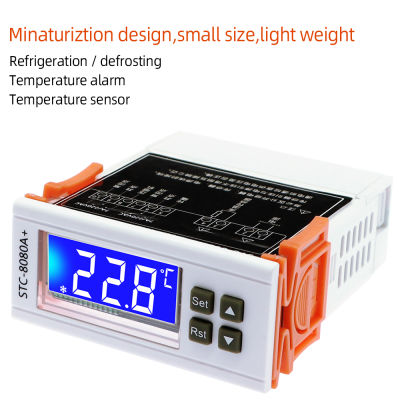
Heating module Cooling module dual function
Temperature calibration function, the temperature is more accurate
6 modules are more convenient to use
The main parameters:
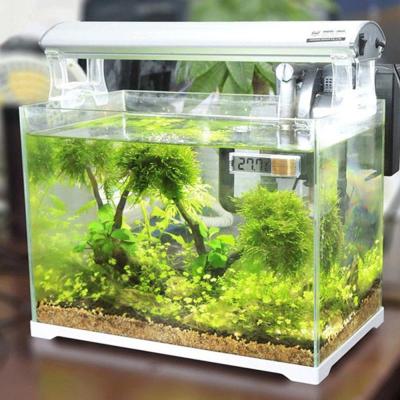
Product name: Aquarium Controller
Working voltage: AC110~230V, 50/60Hz
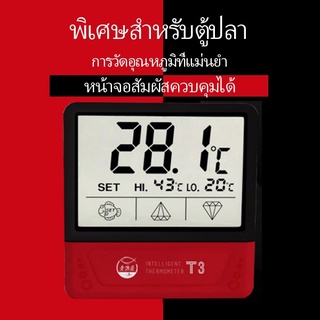
Temperature measurement range: -9~99℃
Measurement accuracy: ±1℃
Display accuracy: ±1℃
Sensor cable length: 1 meter
Output mode: 6 relay outputs
Output capacity: 250VAC/10A
working principle
Heating and cooling function
When the set temperature is greater than the real-time temperature, heating is started; when the set temperature is lower than the real-time temperature, cooling is started.
Timing and appointment function
Timing function, after the timing is turned on, the oxygen supply will be started from the current time, and the oxygen supply will be stopped when the work reaches the set time; the appointment function, the oxygen supply will be started from the appointment time after the appointment is turned on, and the oxygen supply will be stopped when the work reaches the set time.
Back difference
In the heating mode, if the temperature is set to 30°C, the hysteresis is set to 5°C. When the real-time temperature is lower than the set temperature, start heating. Because the setting has a hysteresis, when the real-time temperature is less than 25°C, the heating is started, and when the real-time temperature is greater than 30°C, the heating is stopped.
In the cooling mode, if the temperature is set to 25°C, the hysteresis is set to 5°C. When the real-time temperature is greater than the set temperature, the refrigeration is started. Because the setting has a hysteresis, when the real-time temperature is greater than 30°C, the refrigeration is started, and when the real-time temperature is lower than 25°C, the refrigeration is stopped.
Instructions
Lighting: After a short press, the lighting will start; after a short press again, the lighting will stop.
Filtering: After a short press, the filter will start; after a short press again, the filter will stop.
Sterilization: After a short press, the sterilization is started; after a short press again, the sterilization is stopped.
Heating and cooling: In the standby state, long press the setting button, short press the setting button again, and then adjust the temperature setting by adjusting up and down. After the adjustment is completed, short press the setting button to set the hysteresis, and adjust the hysteresis by adjusting up and down, and then Short press the setting key again to exit.
Timing and appointment function: In the standby state, long press the setting button, and then switch to the timing function by adjusting up and down. First, shortly press the setting key, and then adjust the required timing length by adjusting up and down. After the adjustment is completed, shortly press the setting key to confirm, and the oxygen supply will start at this time. If you need to stop the oxygen supply, short press the oxygen supply button again.
Clock: In the standby state, long press the setting button, and then switch to the clock function by adjusting up and down. First, short press the setting key, and then adjust the clock by adjusting up and down. When finished, short press the setting key to confirm.
Lock: After the standby time exceeds 30 seconds, the panel is automatically locked, and can be unlocked by pressing the set button twice.
Power supply: In standby mode, short press can turn off the display and backlight, and the work indicator will not go out; short press again to turn it on.
Temperature calibration: In the standby state, long press the setting key, switch to real-time temperature through up and down adjustments, then short press the setting key to enter temperature calibration, and then calibrate through up and down adjustments. After completion, short press the setting key.
Restore factory settings: In the standby state, press and hold the power button for 10 seconds to restore the factory settings.
Operation example
[Example] Heating function: When the real-time temperature is lower than 40°C, the heater starts to work, and when it reaches 50°C, the heater stops working. Notice! The difference between 50°C and 40°C is 10!
In standby mode -------->Long press the setting button for about 5 seconds to enter the setting temperature -------->Short press the setting button, the setting temperature flashes -------->Pass Adjust up and down, adjust the set temperature to 50℃-------->Short press the setting key to switch to the hysteresis-------->Adjust the hysteresis to 10 through the up and down adjustments. ------->Short press the setting button to confirm and exit. After 5 seconds, it will automatically return to the standby state.
The cooling setting is the same.
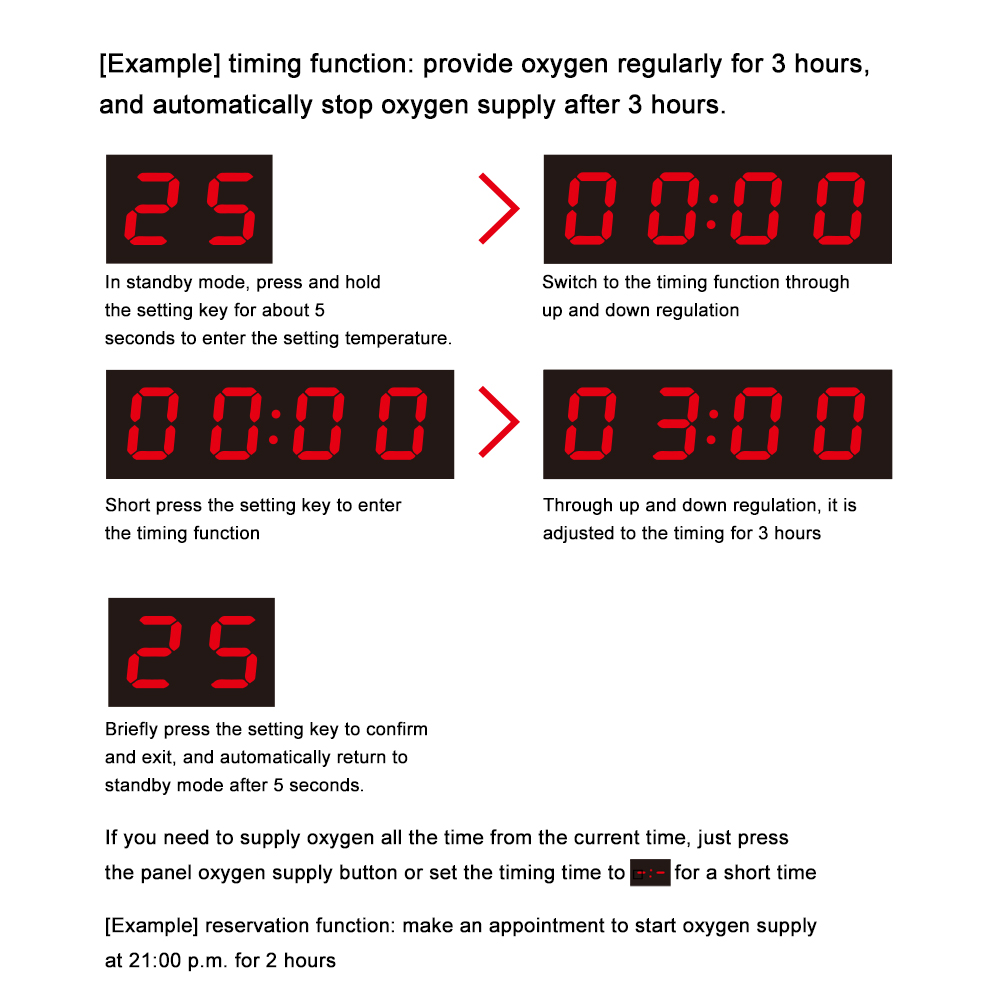
[Example] Timing function: regular oxygen supply for 3 hours, and automatically stop oxygen supply after 3 hours.
In standby state -------->Long press the setting button for about 5 seconds to enter the set temperature -------->By adjusting up and down, switch to the timing function --------> Short press the setting button to enter the timing function -------->Adjust to the timing for 3 hours through up and down adjustments -------->Short press the set button to confirm and exit, after 5 seconds, it will automatically resume To the standby state.
If you need to supply oxygen from the current time, just short press the oxygen supply button on the panel or set the timing duration to --:--.
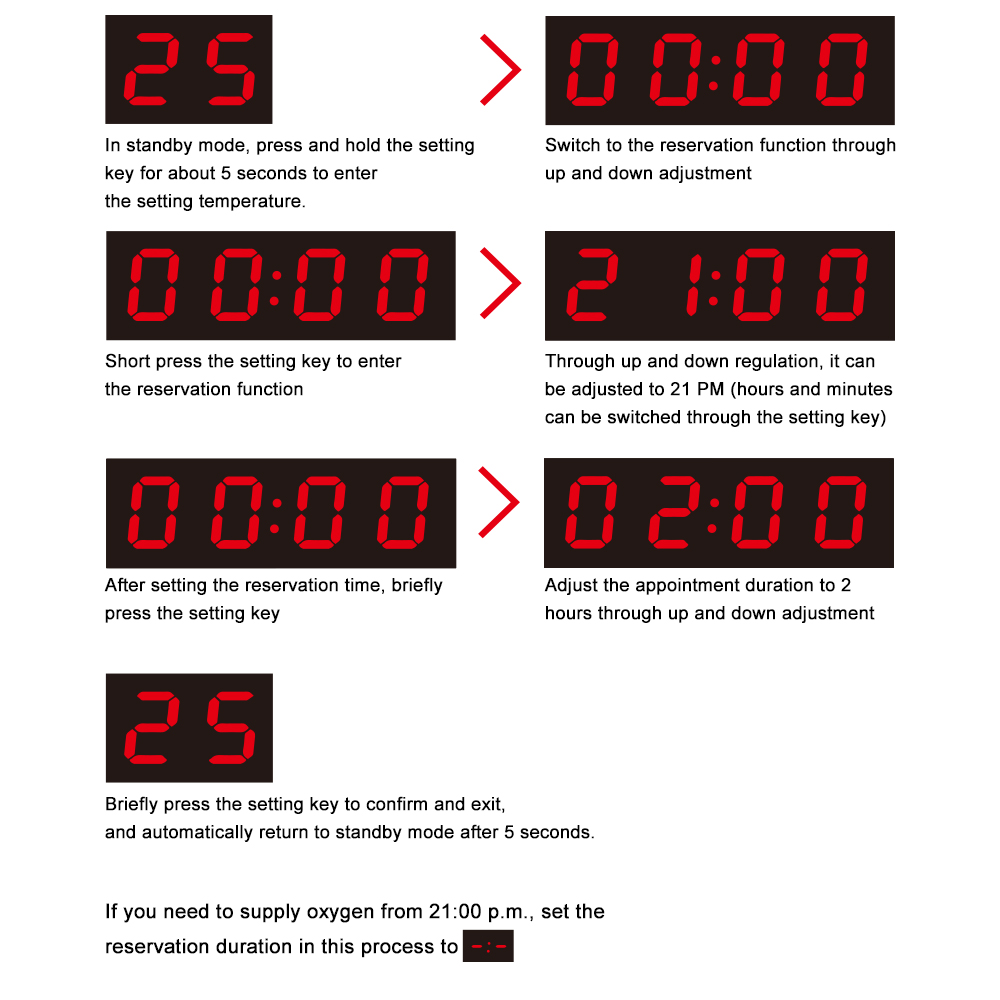
[Example] Appointment function: Make an appointment to start oxygen supply at 21 oclock in the evening, and the oxygen supply time is 2 hours.
In standby state -------->Long press the setting button for about 5 seconds to enter the setting temperature -------->By adjusting up and down, switch to the appointment function --------> Short press the setting button to enter the appointment function-------->Adjust to 21:00 in the evening by adjusting up and down (the hour and minute are switched by the setting key) -------->The appointment time setting is completed After that, short press the setting key-------->Adjust the appointment time to 2 hours by adjusting up and down-------->short press the setting key to confirm and exit. After 5 seconds, it will automatically resume To the standby state.
If you need to start oxygen supply from 21 oclock in the evening, set the appointment time in this process to --: --.
Precautions
If the real-time temperature shows EE and the buzzer keeps alarming, please check whether the sensor is inserted to the bottom.
Any wiring must be done in the power-off state
Non-professionals should not disassemble this product privay, so as not to cause unnecessary danger
The product does not have a battery. Customers need to bring their own CR1220 battery
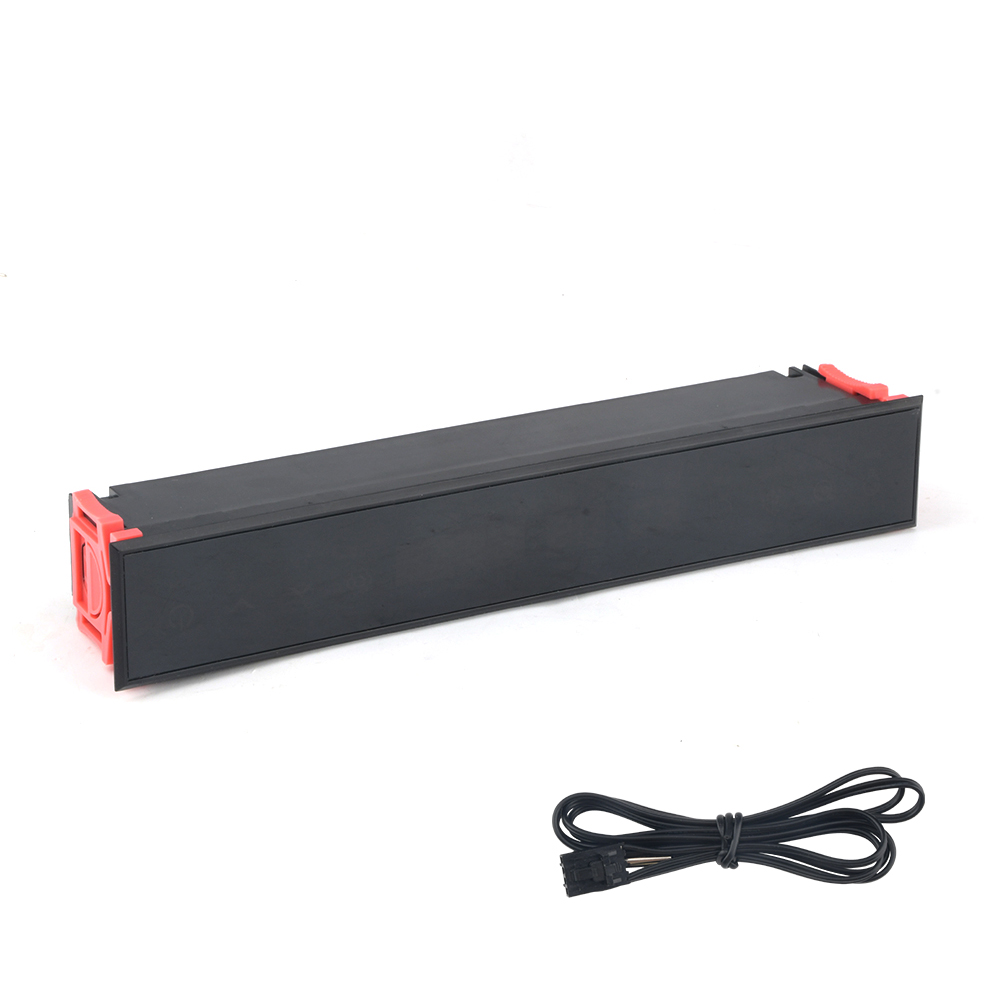
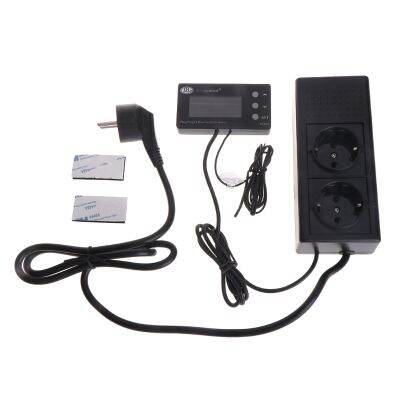
PackageList:
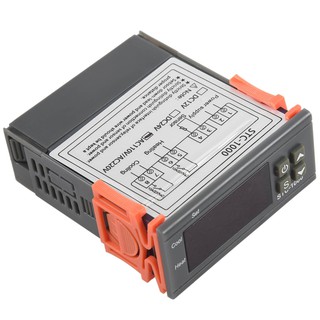
Thermostat*1
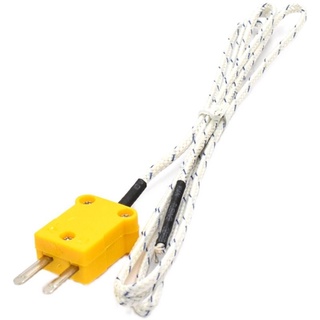
Sensor line*1

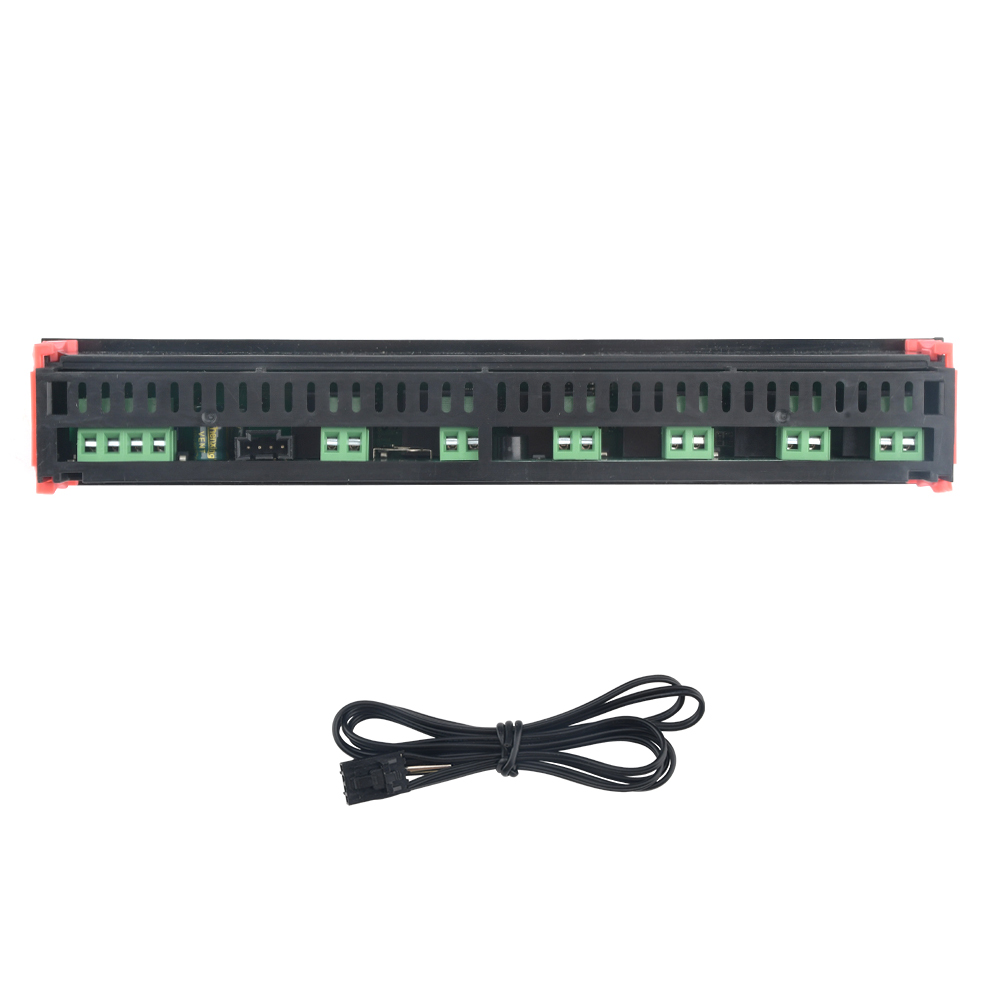


![[COD]➤ เครื่องวัดอุณหภูมิภายในรถยนต์ จอแสดงผล LCD ดิจิทัล เครื่องมือวัดอุณหภูมิตู้ปลา](https://down-th.img.susercontent.com/file/sg-11134201-7qvfb-lhh0rl1pri21f2_tn)


![[พร้อมส่ง] เครื่องวัดอุณหภูมิดิจิทัล เนื้อสัตว์ บาร์บีคิว อาหาร เครื่องวัดอุณหภูมิทําอาหาร โพรบสเต็ก บาร์บีคิว เครื่องวัดอุณหภูมิ ครัว เครื่องมือทําอาหาร จับเวลา อุณหภูมิ ชุดแมนนวล](https://down-th.img.susercontent.com/file/sg-11134201-7rbk0-lkuugshg38mfcd_tn)