Feature:
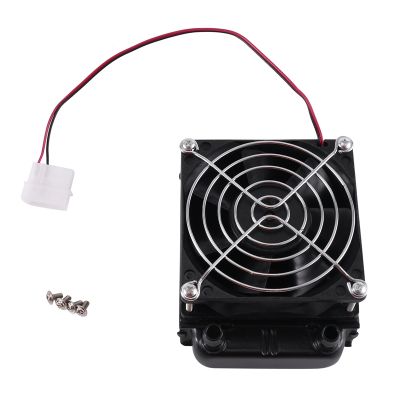
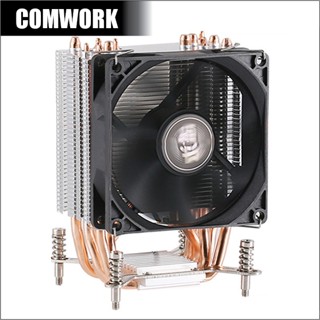
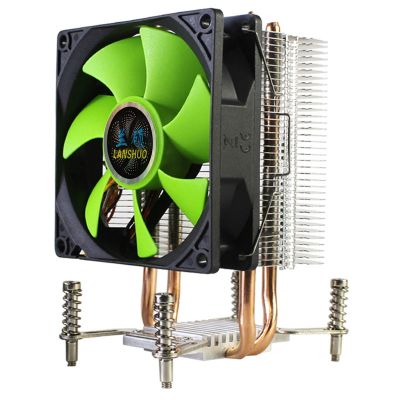
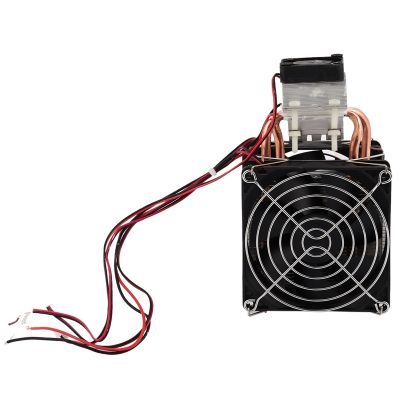
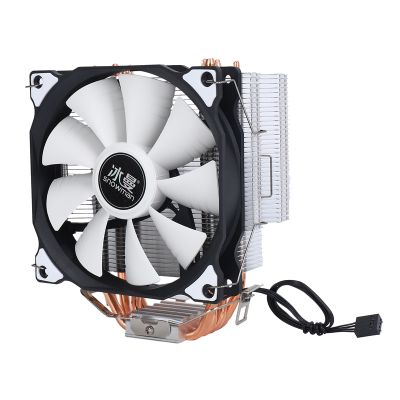
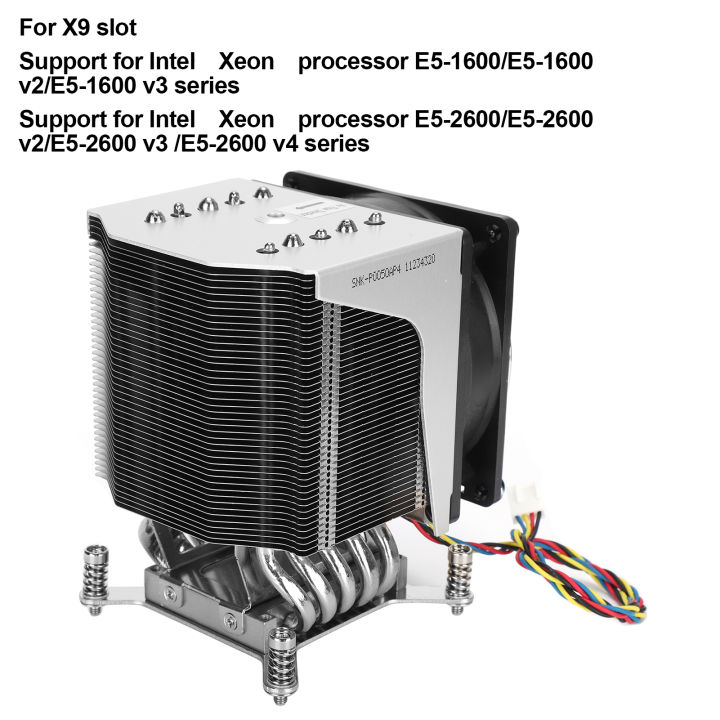
1. 4u active CPU cooler for X9 slot R R 4U cooler LGA2011 square and narrow ILM for Xeon 3800 RPM.
Specification:
Item Type: CPU Cooler Fan
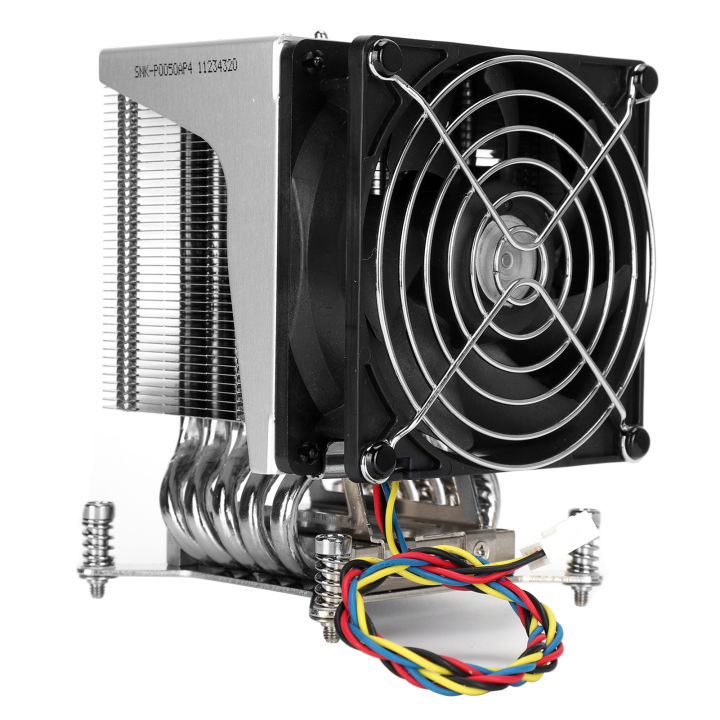
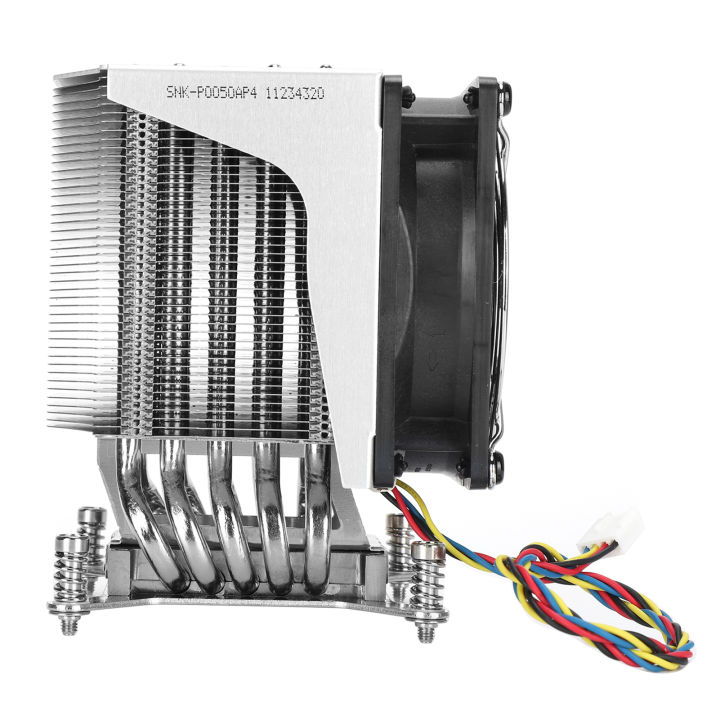
Model: SNK-P0050AP4
Type: Radiator
ILM Type: square, narrow
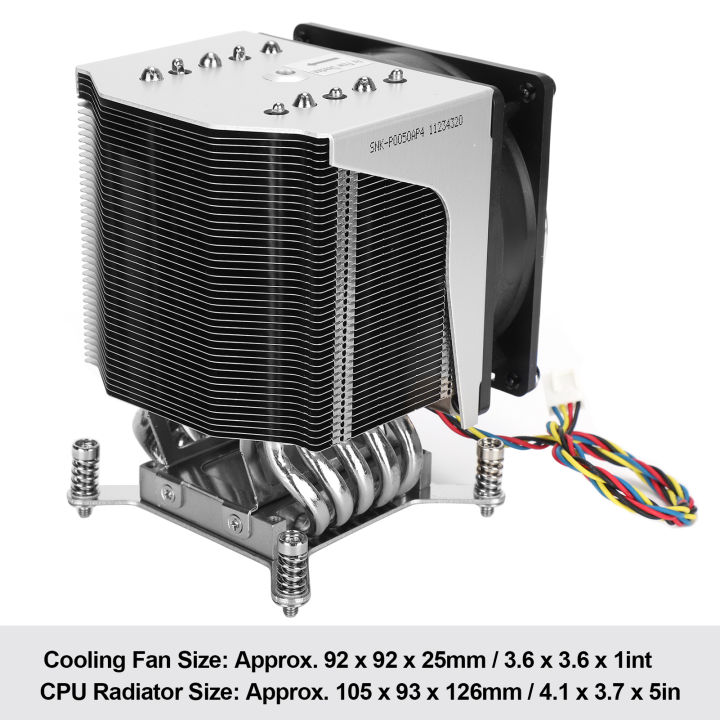
CPU Radiator Size: Approx. 105 x 93 x 126mm / 4.1 x 3.7 x 5in
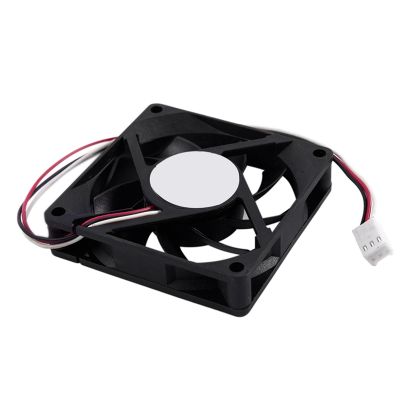
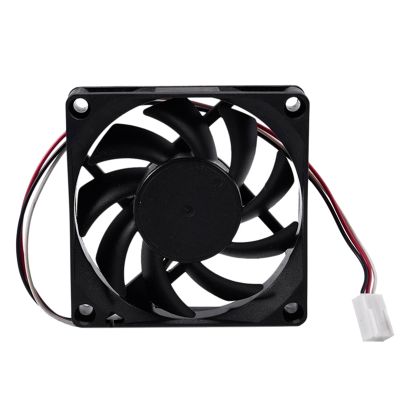
Application: 4U X9 UP DP serverCooling Fan Size: Approx. 92 x 92 x 25mm / 3.6 x 3.6 x 1in
Location: Front How To Use:
1. Take out SNK-P0050AP4 from the package. SNK. poo50AP4 supports forIntel Socket LGA2011 (SocketR) square and narrow independent loading mechanism (ILM). Before installing the heat sink, please check which ILM is equipped on the motherboard.
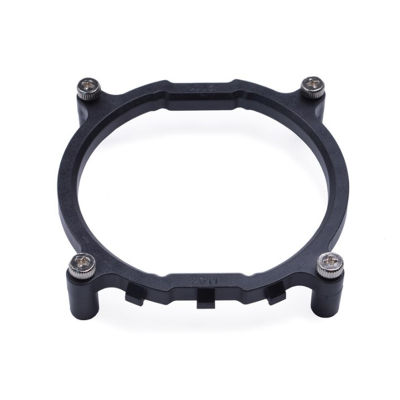
2. By default, the square ILM mounting bracket is fixed on the bottom of the radiator. If the motherboard is equipped with a narrow ILM, follow the instructions in Figure 1 to replace the default square ILM mounting bracket with a narrow ILM mounting bracket.
3. Remove the protective cover of the thermal interface material (TIM). The required amount has been pre-applied on the bottom of the heat sink. Check the pre-coated TIM for damage.
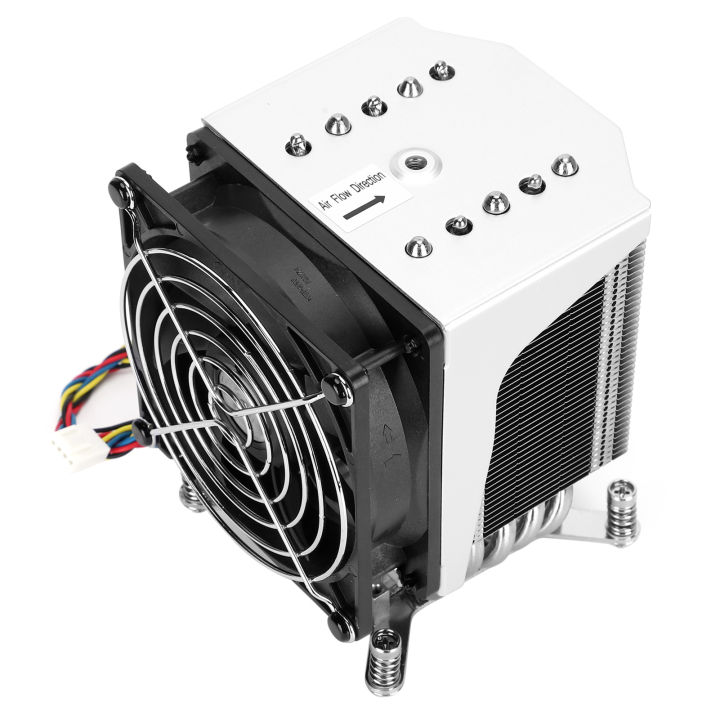
4. Place the heat sink directly on the top of the CPU so that the four heat sink mounting screws are aligned with the four heat sink mounting studs on the lLM and fixed on them. The radiator must be correctly aligned with the flowing direction of the system cooling air. Please note that when tightening the four radiator mounting screws, do not install the radiator cooling fan on the radiator body.
5. Use a screwdriver with cross #2 screw head and adjust the torsion setting of the screwdriver to 5.0 kgf-cm (4.3lbf-in). Before opening the screwdriver, make sure that the screwdriver bit is fully inserted into the cross groove on the heat sink mounting screw head. During the installation process, keep the heat sink mounting screws vertical.
6. Tighten the two diagonal radiator mounting screws until they are just right. Do not tighten completely! Then, do the same with the remaining two diagonal heat sink mounting screws.
7. Follow the cross installation pattern on all four heat sink mounting screws to ensure that the bottom of the heat sink is properly installed on the CPU and prevent the heat sink from tilting. Fully tighten all four heat sink mounting screws to complete the installation.
8. Install the radiator cooling fan and bracket assembly to the radiator body, and then tighten the single locking screw on the top of the fan bracket
9. Connect the SNK-PO050AP4 cooling fan connector to the fan header marked CPU on the motherboard.
Package List:
1 xCooling Base1 xCooling Fan
1 xBracket
1 x User Manual
1 x Screw